What Surface Preparation Actually Does for a Paint Job
Surface preparation is the work that makes paint stick, look even, and last.
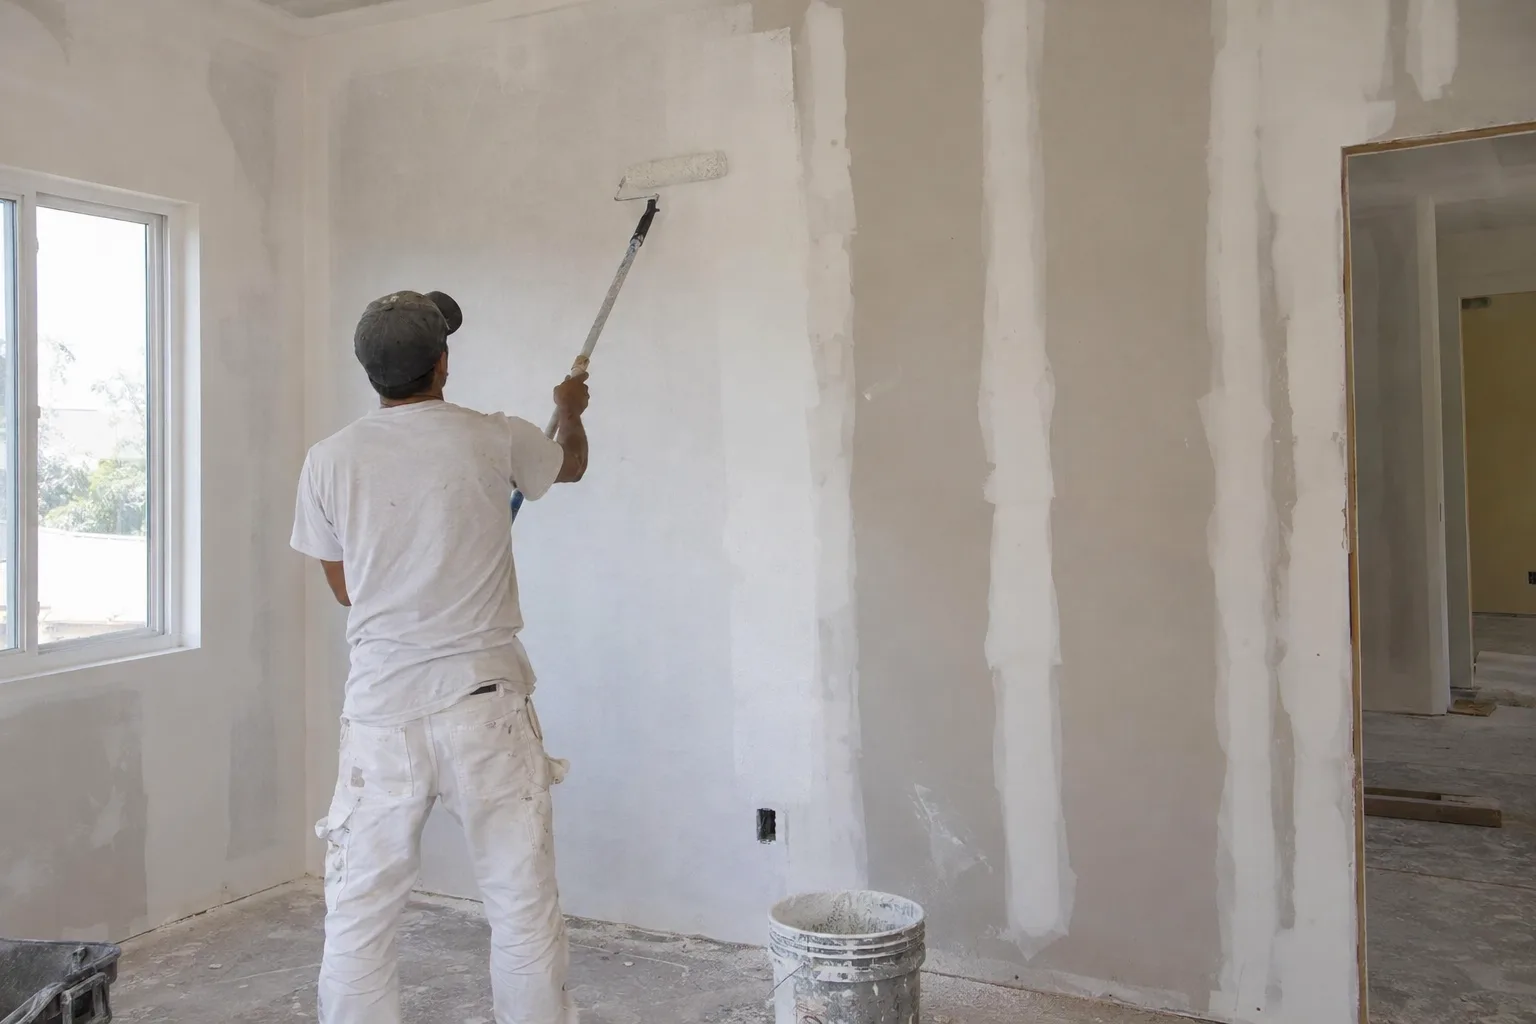
Priming and surface preparation - the pre-paint treatment applied to new drywall, repaired areas, patched walls, and older surfaces before any finish coat - isn't a warmup step. It's the step that controls everything that comes after.
Paint doesn't bond to bare drywall the same way it bonds to a primed surface. A drywall primer - a first-coat product designed to seal raw or skim-coated drywall - fills the paper fibers and reduces surface porosity. Surface porosity is how much a wall absorbs paint. High porosity means the finish coat soaks in unevenly. Low, consistent porosity means the color reads the same across every square foot.
Skipping preparation doesn't save time. It creates visible problems that require repainting to fix.
Why Los Angeles Walls Require More Than a Quick Coat
Los Angeles homes carry layers of history that show up on the walls.
Most homes across Los Angeles - from older bungalows in Pasadena to renovated mid-century properties in Burbank - have been patched, skimmed, or partially drywalled multiple times. A single wall might have original drywall on one side and fresh joint compound over a repair on the other.
Joint compound - the material used to fill seams and repair holes - has different porosity than the surrounding drywall. Without primer, a finish coat reads differently over each material. Some areas look flat. Others catch the light. In rooms with strong California natural light, sheen variation across a wall is immediately visible.
Here's what many homeowners don't realize: the issue isn't the paint color - it's the surface beneath it. Consistent sheen uniformity, meaning an even gloss or flat appearance across the full wall, only happens when each section of that wall has been prepared to absorb the finish coat at the same rate.
Our crews serve the whole Los Angeles basin, from the San Fernando Valley through Santa Monica and into Long Beach. We see this surface variation on almost every project.
A Call We Often Get: One Room, Three Different Surface Types
One room can have three different surface conditions - and each one needs different prep.
A call we often get goes something like this: a homeowner has just wrapped up a bathroom addition or a room expansion. The contractor finished the drywall. Now it's time to paint, and the homeowner wants the walls to look clean and consistent.
When we look at the room, here's what we typically find. The new drywall panels are raw - factory paper face, high porosity, ready to absorb anything applied to them. Next to that, there are taped seams finished with joint compound. Those spots are denser, slower to absorb, and will reflect light differently if they aren't sealed first. And on the third wall - the one that connected to the existing structure - there's older painted drywall that's been sanded or scuffed to accept new material.
Three surfaces. Three different porosity levels. One room.
A skim coat - a thin layer of plaster or joint compound applied over drywall to create a smooth base - helps level the texture. But even after a skim coat, primer is still necessary to seal the surface and create consistent paint adhesion before any finish product goes on.
Paint adhesion is how well a finish coat bonds to the surface beneath it. Poor adhesion means the paint can peel, bubble, or wear unevenly within months.
We sequence the work so every section of that room reaches the same absorption level before the finish coat starts. The result is a wall that reads as one surface - consistent color, consistent sheen, consistent finish.
Every Surface Gets the Treatment It Needs Before We Move On
We don't move to finish coats until every surface section is ready.
A common question from homeowners: what if only part of the room has new drywall? Do you still need to prime the whole wall?
Yes. And here's why.
If you prime only the new section and leave the older painted wall untouched, the finish coat will respond differently on each half. The primed section absorbs consistently. The unprimed older paint may be slightly glossy or contaminated - and that affects how the new finish coat bonds and looks.
We assess each surface section before any product goes on. New construction painting sequence - the ordered process of priming before any finish coat on newly built or remodeled walls - applies to renovation projects too, not just new builds. Whether we're prepping one wall or an entire home in the San Fernando Valley, every surface gets evaluated and treated before we move forward.
No section gets painted over until it's confirmed ready.
How We Prepare New Drywall, Patched Areas, and Older Walls
Each surface type has a specific preparation method - not a one-size approach.
- New drywall:Primed with a dedicated drywall primer to seal the paper face and reduce porosity before finish coats
- Taped seams and joint compound repairs:Allowed to cure fully, then spot-primed or fully primed to match the absorption rate of surrounding drywall
- Skim-coated surfaces:Primed after the skim coat has dried to create a stable, sealed base
- Older painted walls:Cleaned, sanded where needed, and spot-primed on any repaired or high-porosity areas before finish paint
- Mixed-surface rooms:Full-room priming applied so every section reaches the same absorption level before finish begins
We don't skip this step on older walls because they already have paint on them. Condition matters more than age.
Our Priming Sequence, From Inspection to Ready-to-Paint
The preparation sequence is repeatable and completed before finish paint begins.
Surface Inspection
We start by reviewing every wall section. We check the surface condition, the repair history, and the porosity variation across the room. New drywall, patched spots, skim-coated areas, and older painted sections are each identified before we select products.
Surface Treatment and Priming
Repairs and patching are addressed first - no primer goes over an unfinished surface. Once patches are dry and sanded smooth, we apply the appropriate primer to each surface type. High-porosity areas like raw drywall and joint compound get full sealing coverage. Lower-porosity older walls get targeted spot treatment or a full coat depending on condition.
Ready-to-Paint Confirmation
Before any finish product is applied, we verify sheen uniformity across the primed surface. The wall should read consistently flat under natural and artificial light. If any section still shows variation, we address it before the finish coat starts.
Remodeling & More LA dispatches crews from Studio City across Los Angeles. Projects in Pasadena, Long Beach, Burbank, and across the greater Los Angeles area follow this same preparation sequence.
Los Angeles Neighborhoods and Communities We Work In
Remodeling & More LA serves a wide reach across the greater Los Angeles area.
We work across Los Angeles, West Hollywood, Beverly Hills, Culver City, Burbank, Glendale, Santa Monica, Pasadena, Long Beach, Van Nuys, Woodland Hills, Calabasas, Chatsworth, Inglewood, Torrance, and the broader San Fernando Valley - along with communities throughout Orange, Ventura, and San Bernardino counties.
Schedule Your Surface Preparation With Remodeling & More LA
Get the walls ready before paint day - contact us to get started.
Remodeling & More LA handles priming and surface preparation as part of our full painting and finishing workflow. Every surface is assessed and treated before finish product is applied. Call us at +1 (769) 379-9653 or email info@remodelingmore.com to discuss your project. You can also learn more about our full Painting and Finishing services.