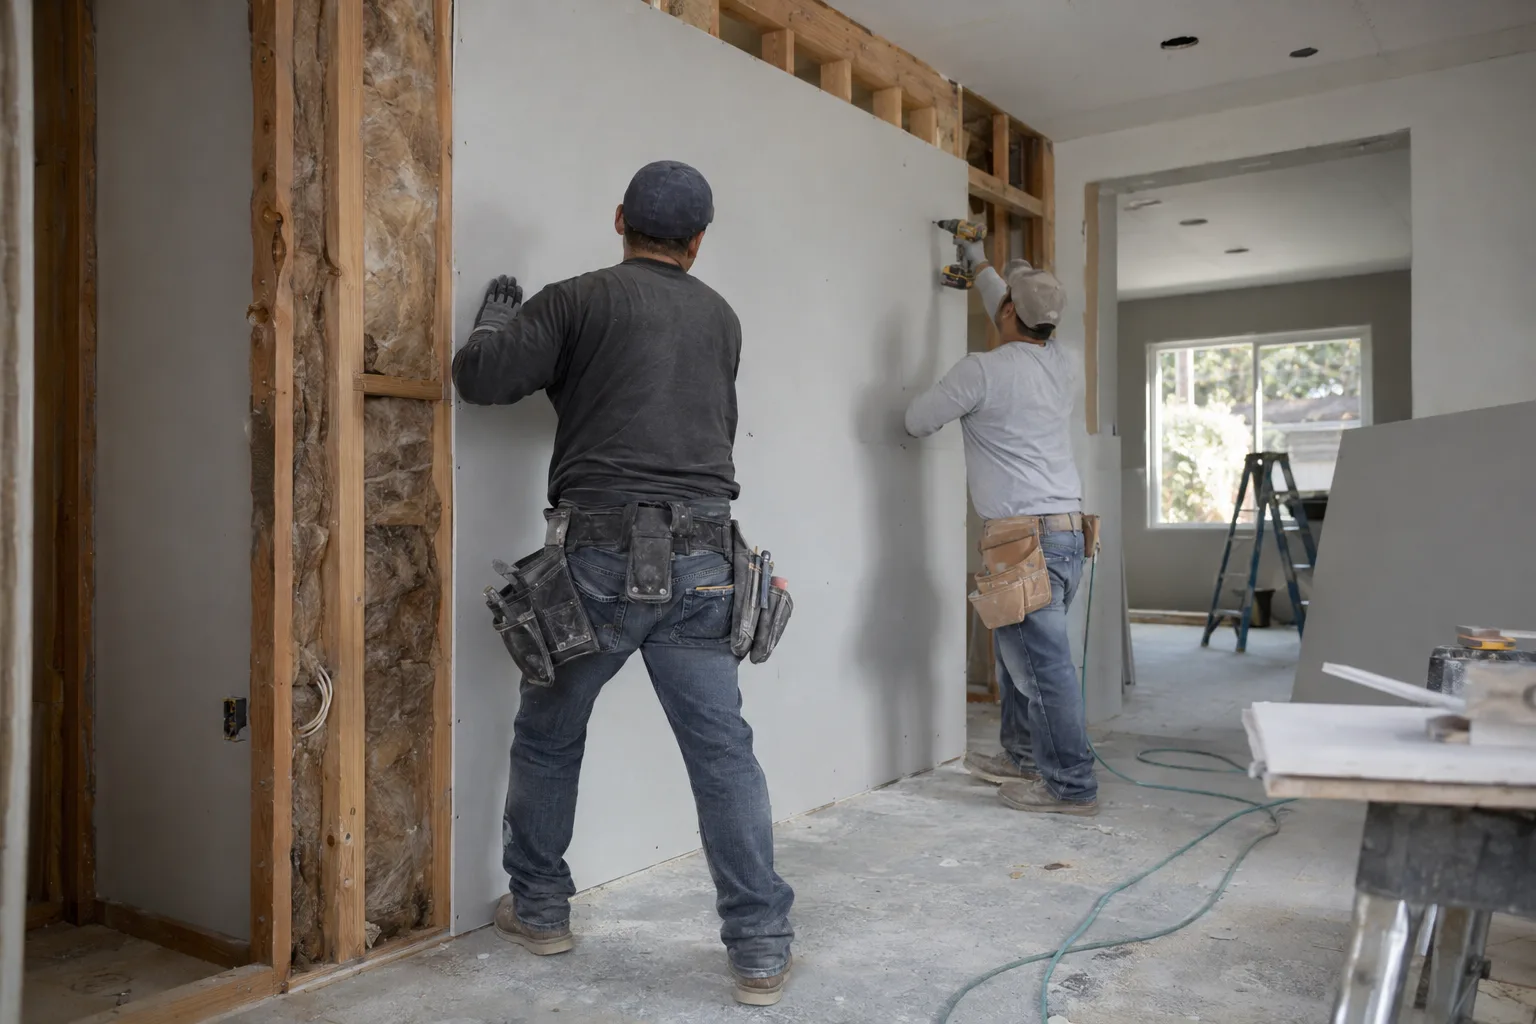
Same crew handles drywall, prep, and paint - so every surface is finish-ready before we leave.
What Drywall Installation and Repair Actually Covers
Drywall work is more than hanging board. It ends at a surface the paint can't expose.
Both scopes end at the same place: a surface ready for primer and paint. That means joint compound - the material applied over seams and fasteners to build a smooth surface - applied in the right number of coats, sanded correctly, and primed before anything else touches it.
Neither scope is complete until the wall disappears behind the finish. That's the standard we hold at Remodeling & More LA.
How Older Walls in Van Nuys, Alhambra, and El Monte Shape the Scope
Older LA neighborhoods create drywall challenges newer construction doesn't.
Our crews dispatch from Studio City and work regularly across Van Nuys, Alhambra, El Monte, and similar neighborhoods throughout Greater Los Angeles. A significant share of homes in these areas were built before 1970. Many have plaster walls - the original hard-coat wall finish common before drywall became standard.
Here's what most homeowners don't realize about plaster walls. When a remodel opens them to run new electrical or plumbing, a simple patch rarely works. Plaster sits at a different depth than drywall. The texture is a different material entirely. A drywall patch over a plaster opening reads differently under paint - every time.
That mismatch determines scope. Sometimes a single wall section needs full replacement. Sometimes an entire room needs to be re-drywalled to achieve a consistent surface. We read that situation on site, before we quote and before we cut.
A Call We Often Get: Visible Patches After the Painter Left
The most common drywall follow-up call in LA comes after the paint is already on.
A call we often get goes something like this. A homeowner in Alhambra just had a kitchen remodel finished. The plumber opened three wall sections to reroute supply lines. Someone patched those openings. Paint went over everything. Now, in certain light - especially afternoon sun coming through a west-facing window - every patch is visible. The texture is wrong. The surface reads like a patchwork quilt.
That's a texture matching failure. Texture matching means replicating the existing wall surface on a new or repaired section so it blends completely. It isn't just about the material - it's about technique, timing, and knowing how the existing texture was applied in the first place.
Older LA homes often have hand-applied textures: skip trowel, knockdown, or light orange peel. None of those replicate well with a spray gun set to default. You have to work the compound by hand to match the original motion and depth.
The other issue is sequencing. Patches that skip a dedicated drying period between coats telegraph under paint. Joint compound shrinks as it dries. A rushed coat creates a slightly sunken patch that paint makes permanent.
The fix for visible patches is rarely just repainting. The compound work has to be corrected first. We come back in, re-skim the affected sections, re-texture to match, re-prime, and then paint. Every time we take on a drywall scope, we plan the finish coat before we start the board work. That's how we avoid the callback.
Why Coordinated Trades Produce a Better Finished Wall
One crew across drywall, prep, and paint means no handoff gaps and a single accountable result.
Drywall work and paint work are connected. What happens in the drywall phase determines what the paint reveals. When those scopes are managed by separate crews on separate schedules, surface preparation - priming, skim coating, sealing - can fall between them. The finish coat then exposes the gap.
Remodeling & More LA uses in-house crews for drywall installation and repair, surface preparation, and painting. The person managing your drywall scope knows what the finish coat will expose. They plan accordingly. Texture matching, joint finishing, and primer application happen in sequence - by people who are accountable to the same final result.
If a finish coat reveals a problem, we fix the drywall. There's no second contractor to call.
From Raw Board to Finish-Ready Surface - Our Sequence
Every stage of our drywall process is planned around what paint will see.
Our approach to drywall installation and repair in Los Angeles follows a defined sequence:
- Board selection and layout:We use the right panel thickness and type for the location - moisture-resistant board in wet areas, standard gypsum elsewhere.
- Hanging and fastening:Panels are fastened to framing at correct intervals. Butt joints are avoided wherever possible - tapered edges produce cleaner seams.
- Tape and first coat of joint compound:Paper tape embedded in mud over every seam. No mesh in finish areas - mesh creates a visible pattern under thin coats.
- Second and third coats (feathered):Each coat feathered wider than the last. Full drying time between every coat. No shortcuts.
- Sanding:Sanded to a Level 4 or Level 5 finish depending on paint sheen and light exposure. High-gloss or raking light conditions demand Level 5.
- Texture application:Matched to the existing room surface by hand or spray, depending on what's already there.
- Primer:Applied before paint. Primer seals the compound and makes the surface uniform - unprimed compound absorbs paint differently than surrounding wall, creating a visible ring.
Three coats. Not two. That's how joints disappear.
Texture Matching, Joint Work, and Primer in the Right Order
Finish quality is determined in the drywall phase - not the paint phase.
Diagnostics
Before any material touches the wall, we assess the existing surface. What texture is present? What depth? Was it spray-applied or hand-applied? Is the existing drywall in the surrounding area skimmed or raw? These answers determine the repair approach.
In older Van Nuys and El Monte homes, we often find three or four layers of paint over original plaster. That affects how we prep the edges of any opening and how we blend the patch depth.
Implementation
New installations follow the sequence above - board, tape, three coats, sand, texture, prime. Repairs follow the same sequence on the patch, then expand outward. We feather the compound beyond the patch edge so the transition zone is invisible. We re-texture the full wall section, not just the patch, when the existing surface requires it.
Post-Service Surface Testing
Before we call a surface finish-ready, we check it under raking light - a single light source held at a low angle to the wall. This is the same condition that exposes surface irregularities after paint goes on. If anything reads under raking light before primer, we correct it. The painter never finds a surprise.
Los Angeles Neighborhoods We Work In Regularly
We serve Greater Los Angeles from Studio City to the South Bay and beyond.
Remodeling & More LA takes on drywall installation and repair scopes across Los Angeles, West Hollywood, Beverly Hills, Culver City, Van Nuys, Burbank, Glendale, Alhambra, El Monte, Pasadena, Santa Monica, Inglewood, Hawthorne, Gardena, Torrance, Long Beach, and surrounding communities throughout Greater Los Angeles.
Ready to Move Forward? Here Is How to Get Started
Tell us what the wall looks like now - we'll map out what it takes to finish it right.
Call Remodeling & More LA at +17693799653 or email info@remodelingmore.com. Describe the scope - new installation, patch repair, or post-remodel resurfacing. We'll take it from there.
If your project includes painting or surface preparation, mention that too. Coordinating all three phases from the start produces a better result.